1. Account registration
Sign up your website or e-shop through the Sign up form. We will contact you soon by email or phone to copmlete a setup of your TagPicker account.
2. User account
Sign in to your account with the email and password you received via email. Once you've successfully logged in, you'll find the code in your TagPicker account that you paste into your website. Once you have placed the code, you are ready to use TagPicker.
You can also find TagPicker statistics, edit your account information, select a plan, and more.
3. TagPicker App
- Sign in to TagPicker App app.tagpicker.com with the same email and password you used to sign in to your user account. Then go to your website where you want to use TagPicker.

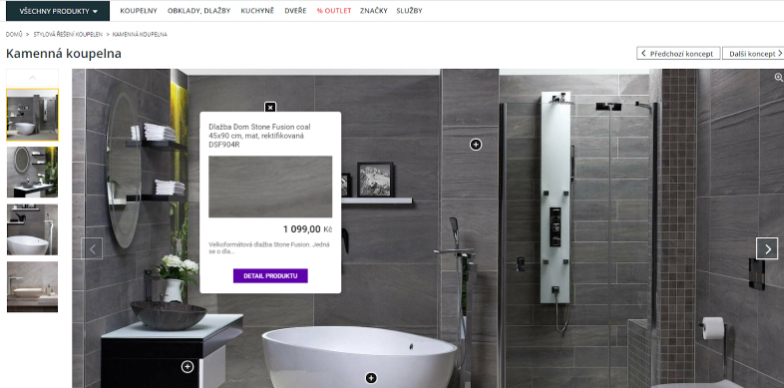
- Select any image on your website and start editing the image using the "Edit Pencil" that appears above your images.

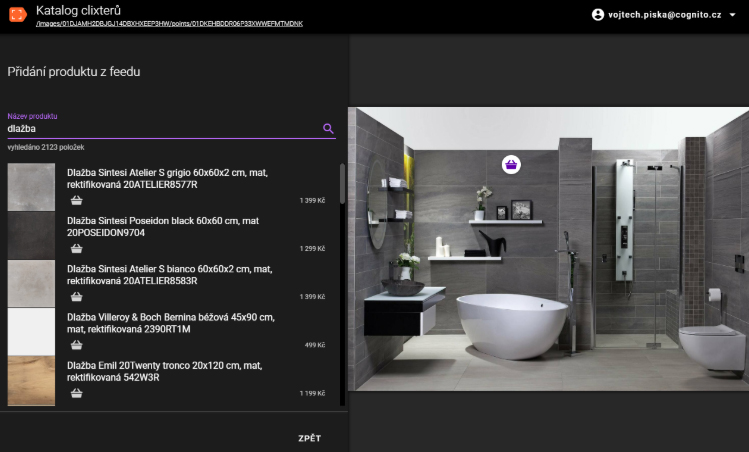
- In the App, click a location in the image and assign the desired product from the search box.
- Add more points as you like. Once you're done, check the final image and publish it to your site

- Go back to your website and enjoy the features of TagPicker.